How To Design A Wardrobe With Odd Corners
Our design team often receive requests from people who have a fairly straight forward space, except for one or two corners with "cut outs". These may be because of boxed in pipe work that runs through the corner of the room, or perhaps a supporting beam of the house. Whatever the reason, they can become a bit a nuisance and prevent any of our "standard" wardrobe packages and designs from fitting their space.
In this tutorial, we show you how you can still make the most of these awkward corners and what additional hardware you may require to make a standard package suit your space.
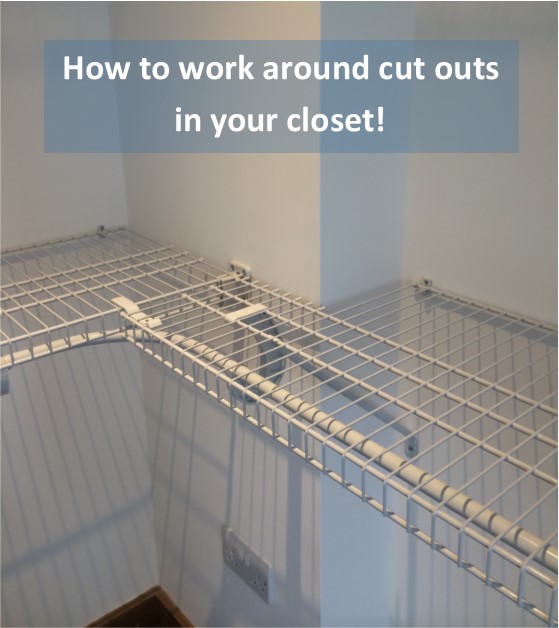
In this example we have used our 16" deep SuperSlide shelving with our regular fix mounting hardware, and we were working around an awkward stepped in corner that had been built to block in some pipework. The ClosetMaid system is wonderfully versatile but there are some limitations to what you can work with, so when considering your own space make sure you take into account the following...
You can still fix to your awkward corner as long as the wall/ panel is constructed of a standard building regulation material, i.e. plasterboard/ MDF/ block work.
This corner stuck out into the room from the back wall by approximately 25" (63cm) and was approximately 7" (18cm) deep. When working around odd shaped corners, we recommend that the shelf you have to cut, is cut by no more than 12" (30.5cm) Wide x 8" (20cm) Deep. This is because if you have to cut the shelf anymore than this, you will begin to find that the shelf loses its strength and rigidity and will therefore be fairly useless!
So how do you cut the shelving accordingly and support it appropriately? Read on to find out!
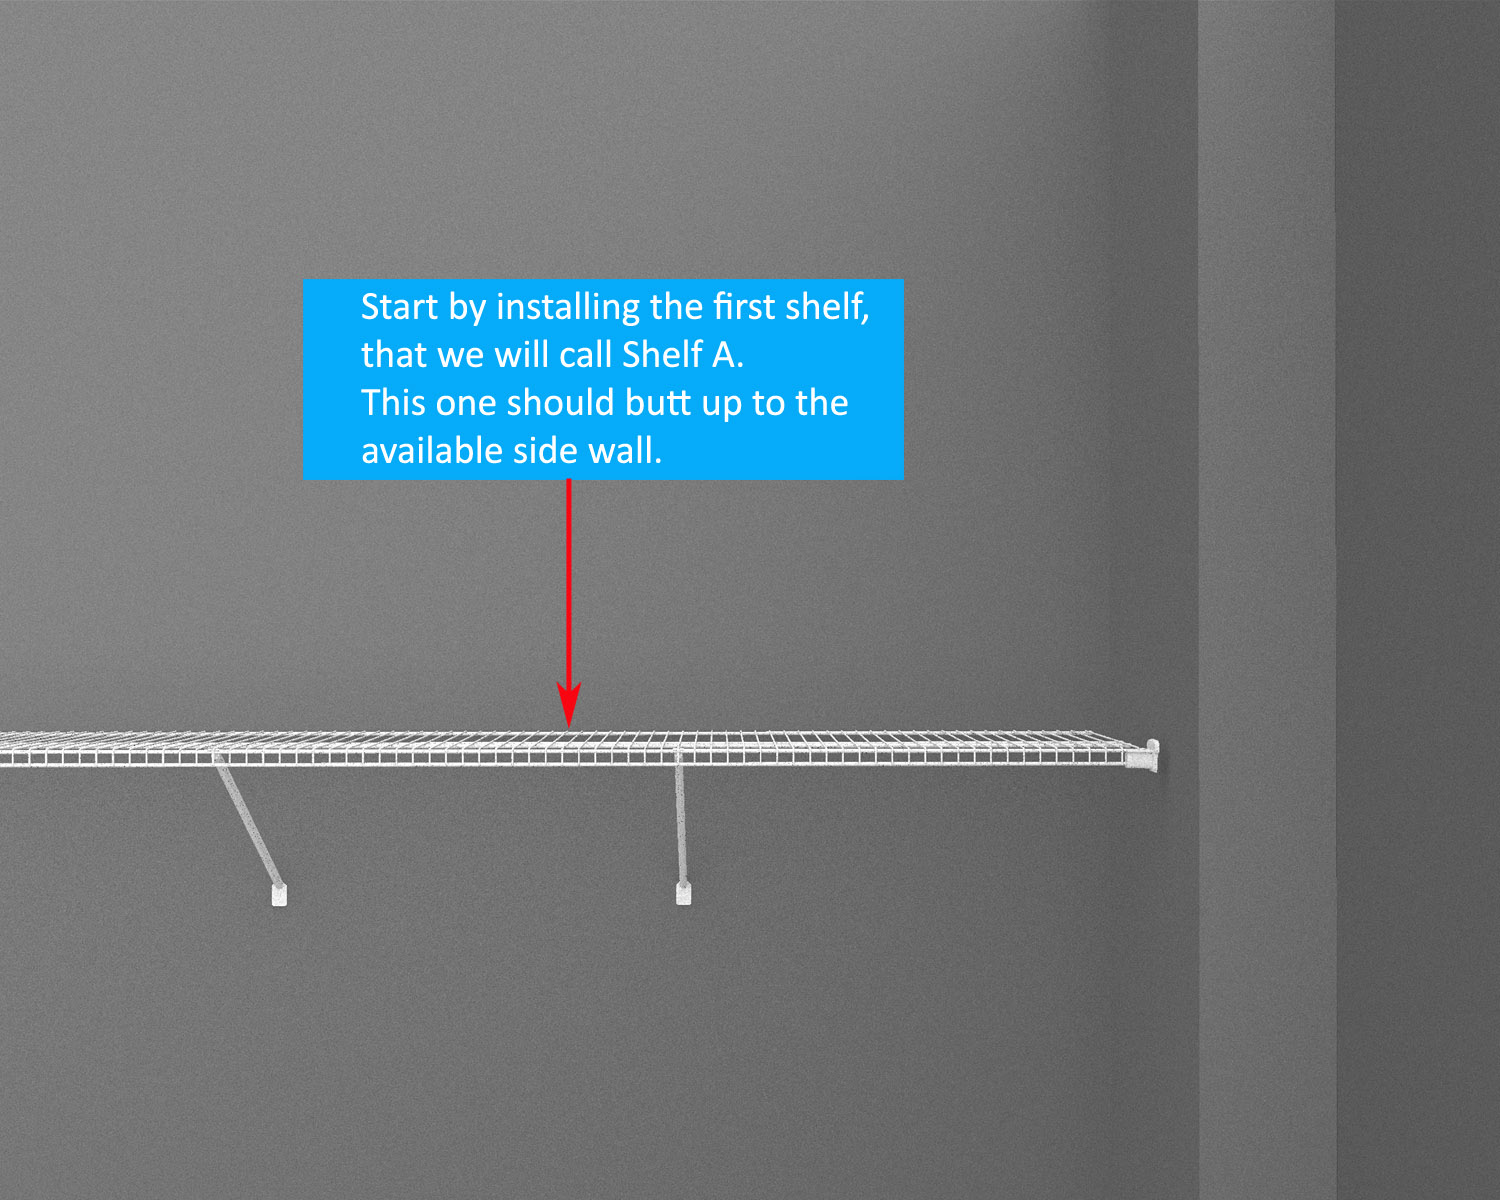
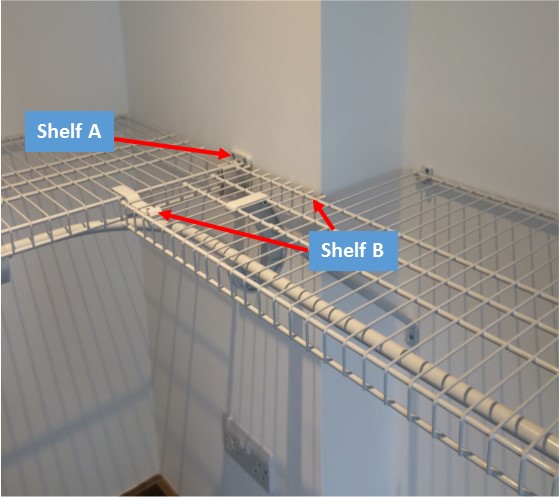
Start by installing Shelf A first. This is the shelf that will butt up to and fix directly onto the blocked in/ stepped in corner.
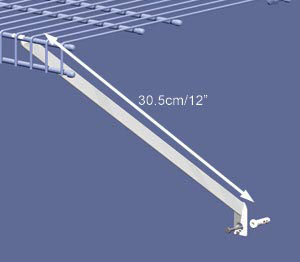
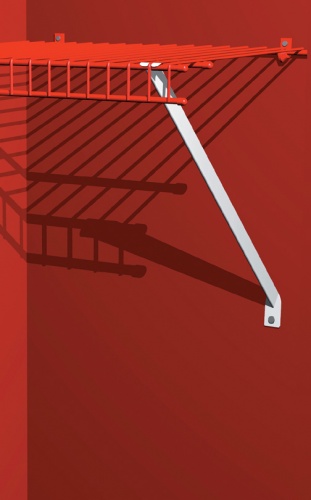
You will need to support the end of this shelf using a 942 - Wall Bracket , shown on the right of the image below. This will provide a sturdy base for your cut out shelf to connect to, detailed in the next step.
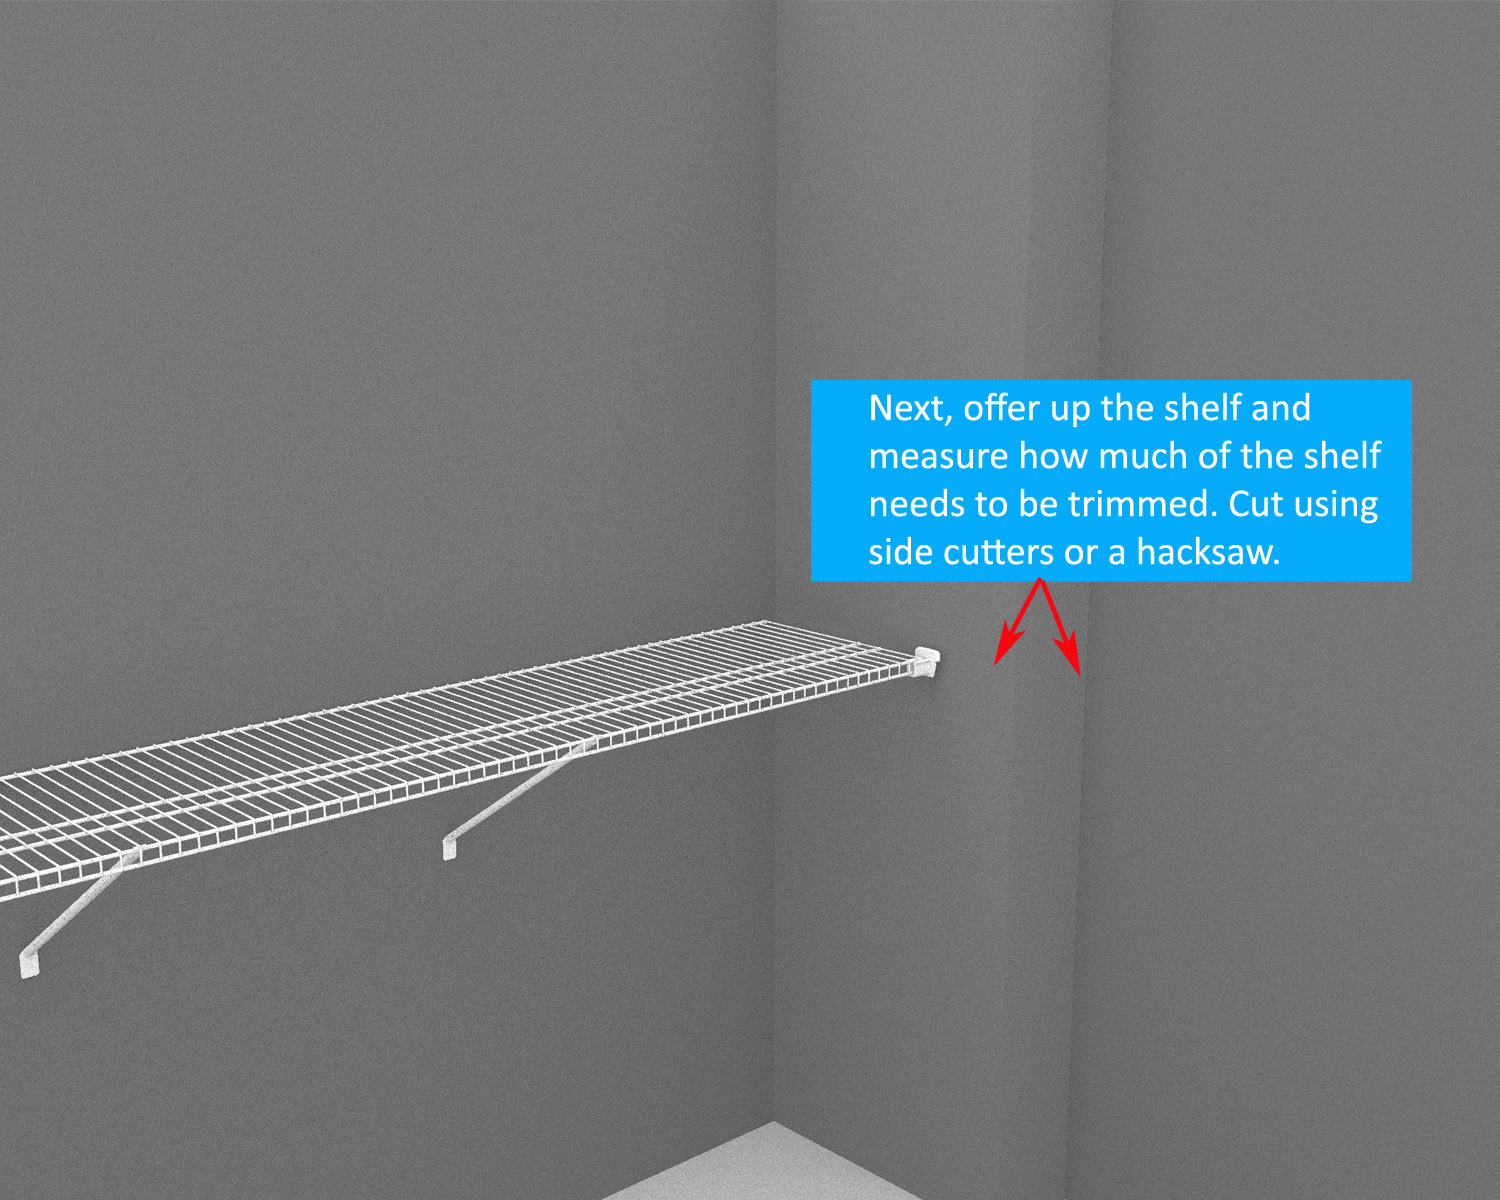
Next you will need to measure how much of your Shelf B requires cutting. In this case, as mentioned the corner was 25" (63cm) Wide x 7" (18cm) deep. This means that from the installed Shelf A, you measure how much length of Shelf B needs cutting, and in this case it was approximately 9" (23cm). You then measure how much depth is needed to be cut from Shelf B to fit around the corner, and in this case it was 7" (18cm). Using Side cutters for the thin wires that run vertically through the shelf every 1" (2.54cm) apart, and boltcutters or a hacksaw for the thicker lateral wires along the back edge of the shelf. Trim off exactly what is needed and cap cut ends using deck wire caps for the thin wires and small end caps for the thicker front and back edge wires.
Now that your shelf is cut and capped, you can install Shelf B. You should now find that the shelves fit around your awkward corner giving you a fully customised solution to help you make the most of your space. In our example, we have even managed to install a hang bar too so that garments can still glide around the corner without interruption and full use of the space is optimised.
So install Shelf B in the regular way along the back edge using 991 - wall clips. This will attach the shelf to the wall, but you will also need to ensure you have the correct supports as indicated by the arrows.

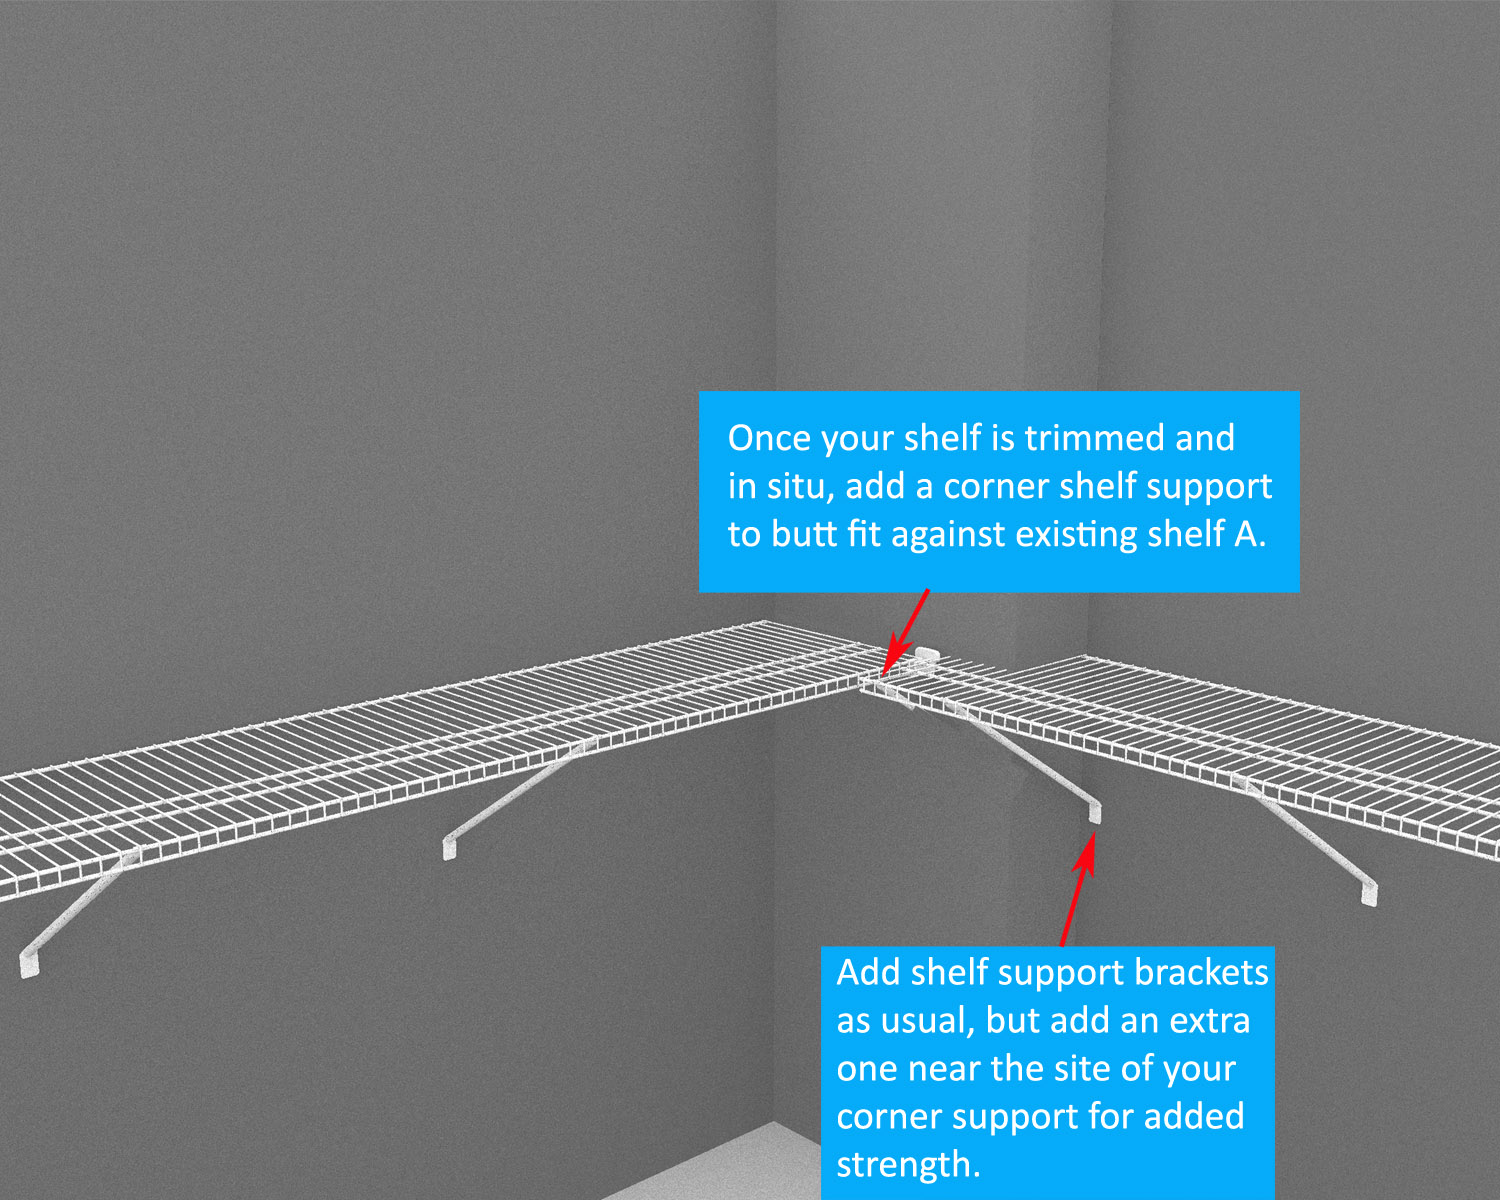
You should always make sure that when cutting a section of a shelf out, you add extra supports to ensure the weakest points will cope with the load that you later put on them.
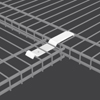
By using a 120 - corner support, and a 1164 - shelf support bracket, you will support both the front edge of the shelf and the mid point where the hang bar will add extra load once garments are placed onto it. We recommend placing a shelf support bracket as close to the cut out as possible to provide maximum support to the weaker part of the shelf. If you placed your hang bar at the 10" (25.4cm) position from the wall, then be sure to use the 1162 - shelf support bracket instead so that the bracket does not interrupt your hanging section.
If creating a two tier hanging section, simply repeat as above to achieve a fully functional walk in wardrobe, regardless of awkward corners!!
If you're now ready to shop for your own wardrobe solution then take a look at our wardrobe packages and additional hardware that may be required to deal with your awkward corners as shown in the tutorial above, or you can click here to see all parts and hardware you may need to create a walk in wardrobe from scratch!
Alternatively if you're not feeling confident enough, get in touch with our design team who will be more than happy to help you design your walk in wardrobe, whether you have sloping ceilings or not. Click here to fill out the design request form and a member of our team will get back to you shortly.
Note that for this design we used our 16" (40.6cm) deep SuperSlide shelving with our regular fix mounting system.